The single-leg squat—also known as the pistol squat—is one of the most effective lower body movements for developing long-term joint health, leg strength, and balance. But it’s also one of the most challenging.
It demands serious strength, solid ankle and hip mobility, and precise control—all on one leg. Research consistently supports unilateral training for improving strength, injury resilience, and balance. Three things that are essential for aging gracefully pain-free. Unfortunately, most people never build up to single-leg squats because they don’t have the right progressions, or they’re limited by poor ankle mobility.
That’s where SquatWedgiez comes in.
By elevating your heels, SquatWedgiez removes the need for extreme ankle dorsiflexion, helping you achieve a deeper squat with better form. Plus, it shifts more of the load to your quadriceps, allowing you to strengthen the muscles that matter most for powering out of the bottom of the pistol squat.
If you’ve ever struggled with single-leg squats or felt like pistol squats were out of reach, you’re not alone. In this guide, we’ll walk you through:
-
A mobility-focused warm-up to improve the flexibility of your hips and ankles
-
A progression of five exercises to build the strength, control, and range needed for your first pistol squat
-
How using SquatWedgiez can fast-track your progress by improving form and reducing common mobility limitations
“But Erik, I want to perform it without a wedgie.”
Good news: SquatWedgiez aren’t just for heel elevation. One of their biggest benefits is full-foot toe elevation, which is especially effective for improving tight ankles that limit your squat depth.
Keep reading for some of my favorite exercises to open up your hips and ankles, with a little help from a wedgie.
🎥 Watch the Full Progression
Step 1: Warm-Up to Unlock Key Joints
Before you attempt any single-leg squat progressions, your ankles, hips, and calves need to be mobile and activated. This 4-move warm-up routine does just that:
1. Bear to Downward Dog
Promotes spinal mobility while stretching the hamstrings and calves.
How to perform: From a bear crawl position, push your hips up into a downward dog. Return to bear.
Repeat for 8–10 reps.
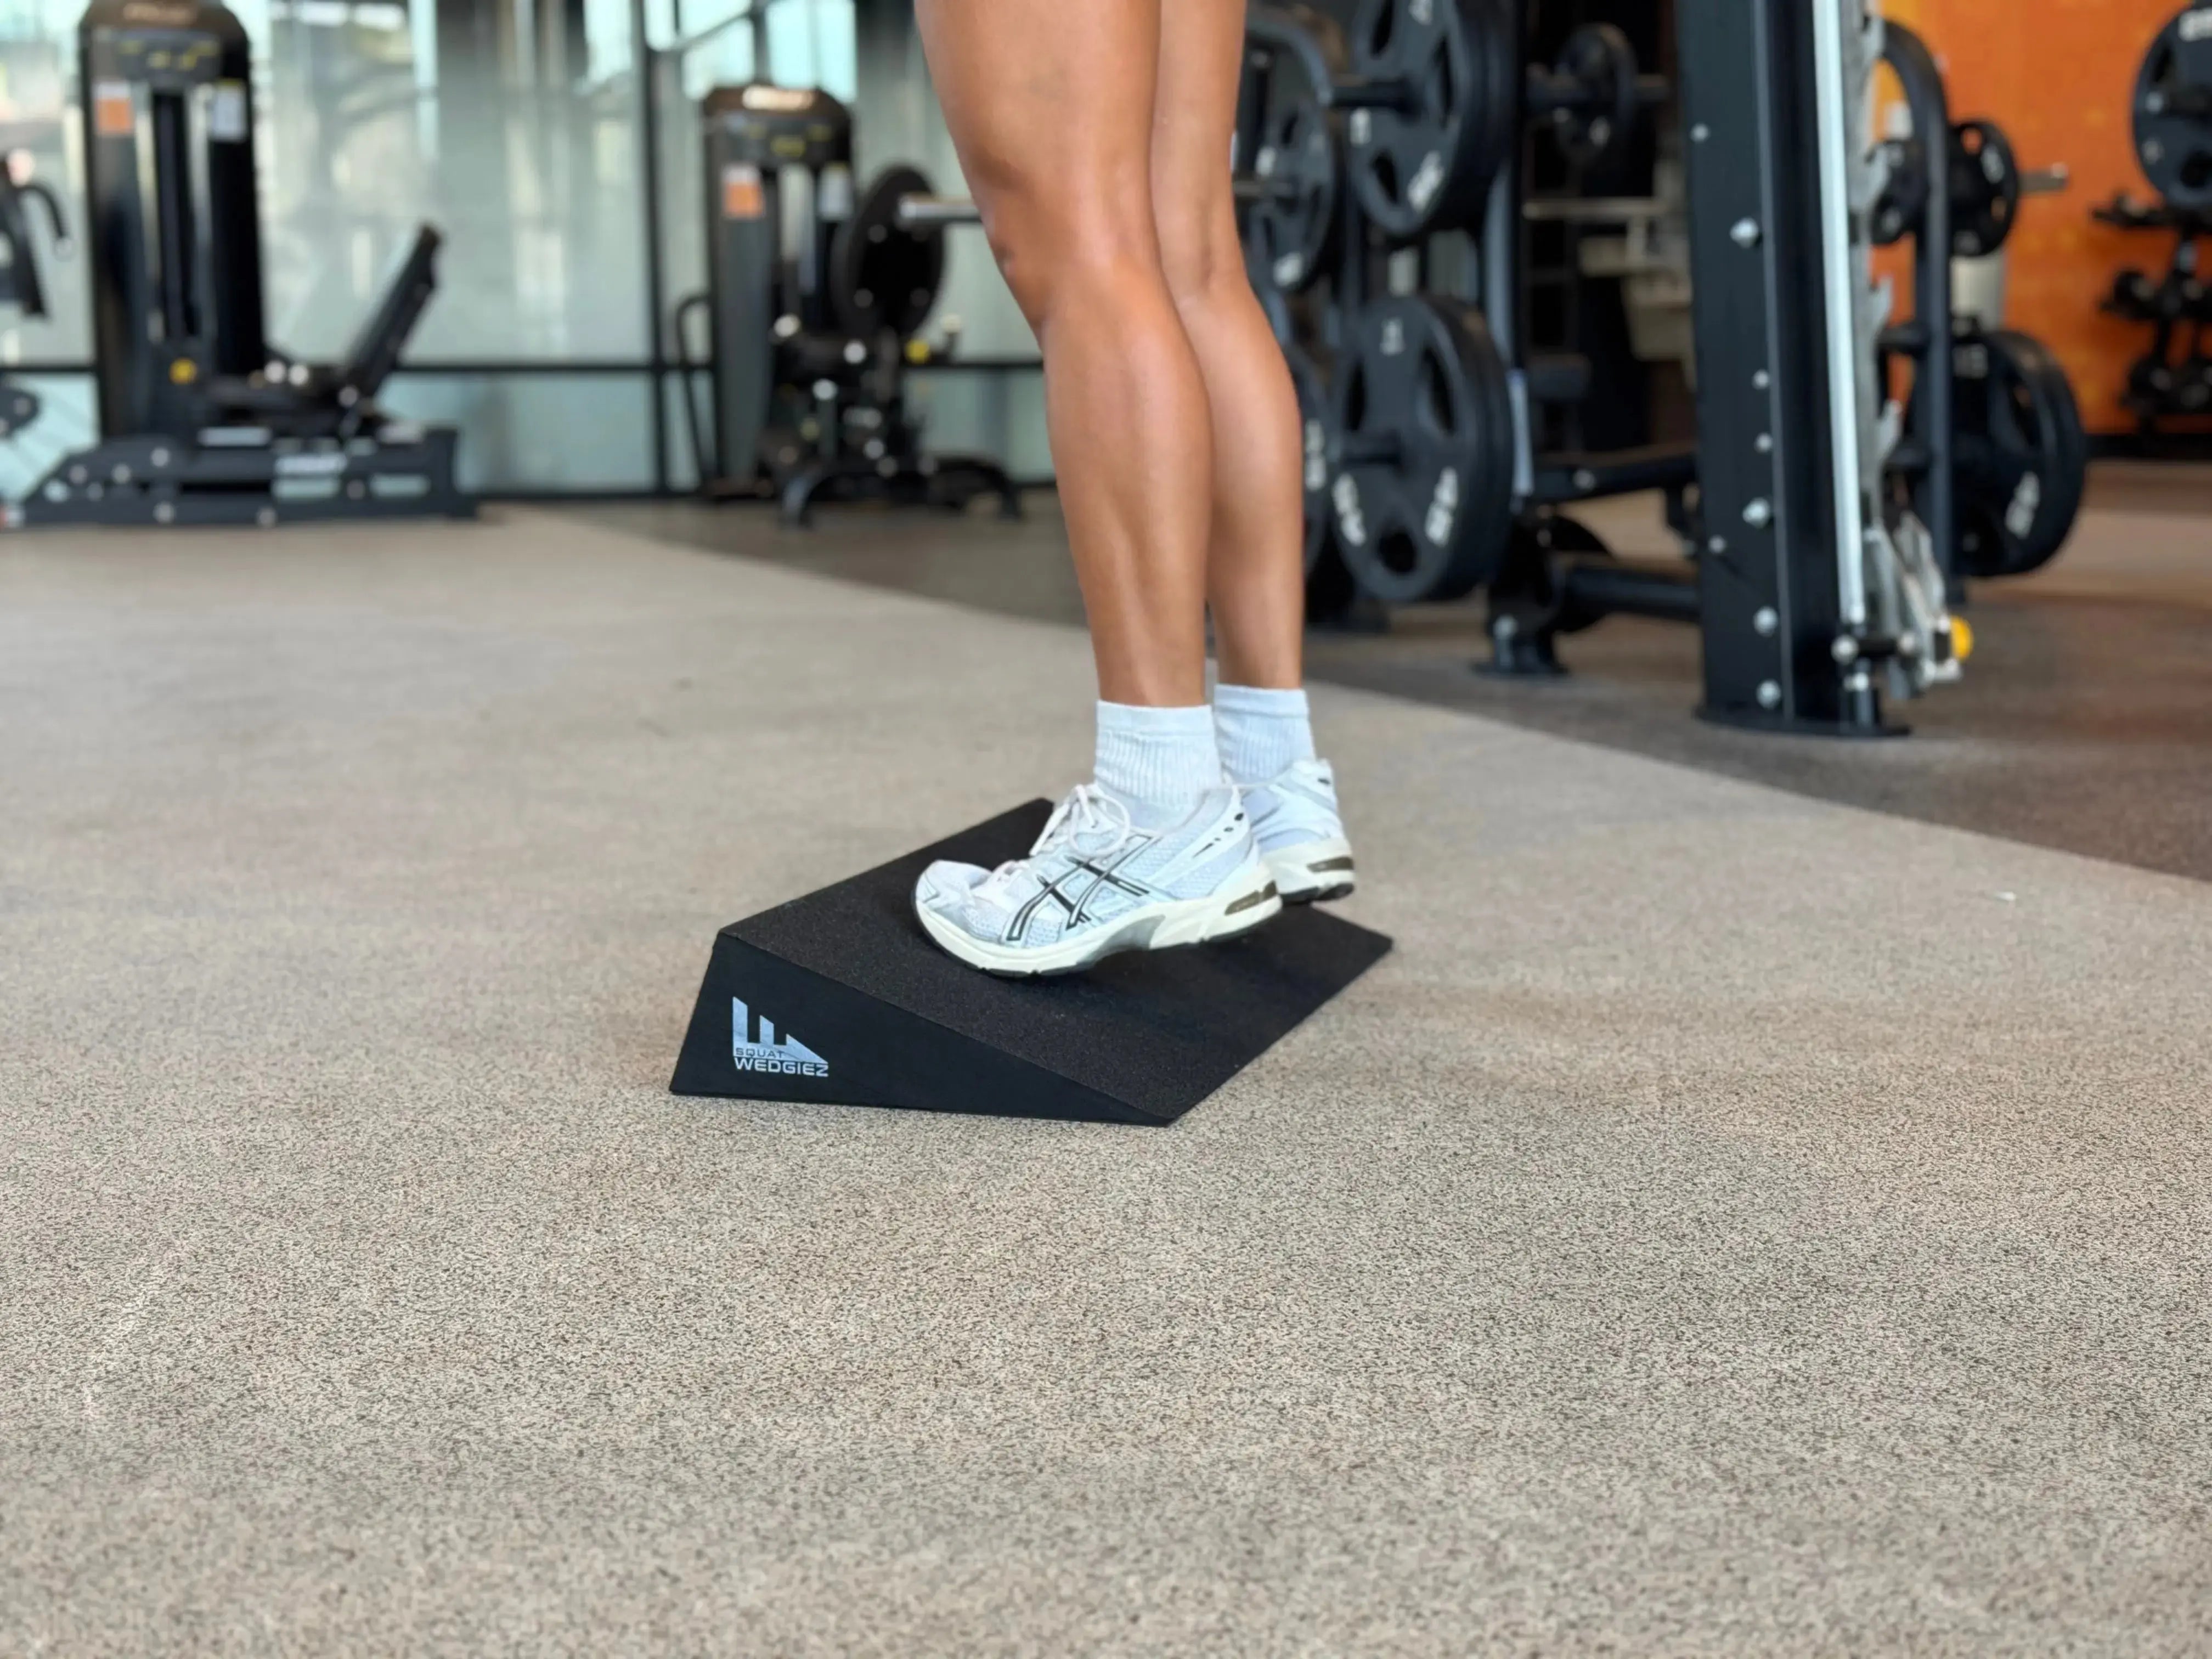
2. Heels-Elevated Tibialis Raises (Use SquatWedgiez)
Strengthens the anterior tibialis and increases control in ankle dorsiflexion—critical for pistol squat depth.
How to perform: Stand on your SquatWedgiez with heels elevated. Lift your toes off the ground under control.
Repeat for 8–10 reps.
3. Toes-Elevated Calf Raises
Focuses on stretching the soleus and training end-range plantar flexion under load.
How to perform: Stand with your toes elevated on a wedge or plate. Slowly drop your heels below the platform, then press up into a calf raise.
Repeat for 8–10 reps.
4. Isometric Split Squat Calf Raises
Combines single-leg balance with calf strengthening and ankle joint integrity.
How to perform: Hold a deep split squat position. From here, perform slow, controlled calf raises on the front leg. Hold the top for 1–2 seconds.
Repeat for 8–10 reps.
Step 2: Five Progression Exercises to Build Your First Pistol Squat
Once you're warmed up, these five exercises will help you gradually develop the strength, balance, and coordination needed to perform your first unassisted pistol squat.
I recommend sticking with each movement for 2 to 4 weeks—or until you can do it with perfect form (or even with your eyes closed). The goal isn’t to rush through the steps, but to master each one before moving on.
Without further ado, here are the five key exercises that will help you crush your first pistol squat.
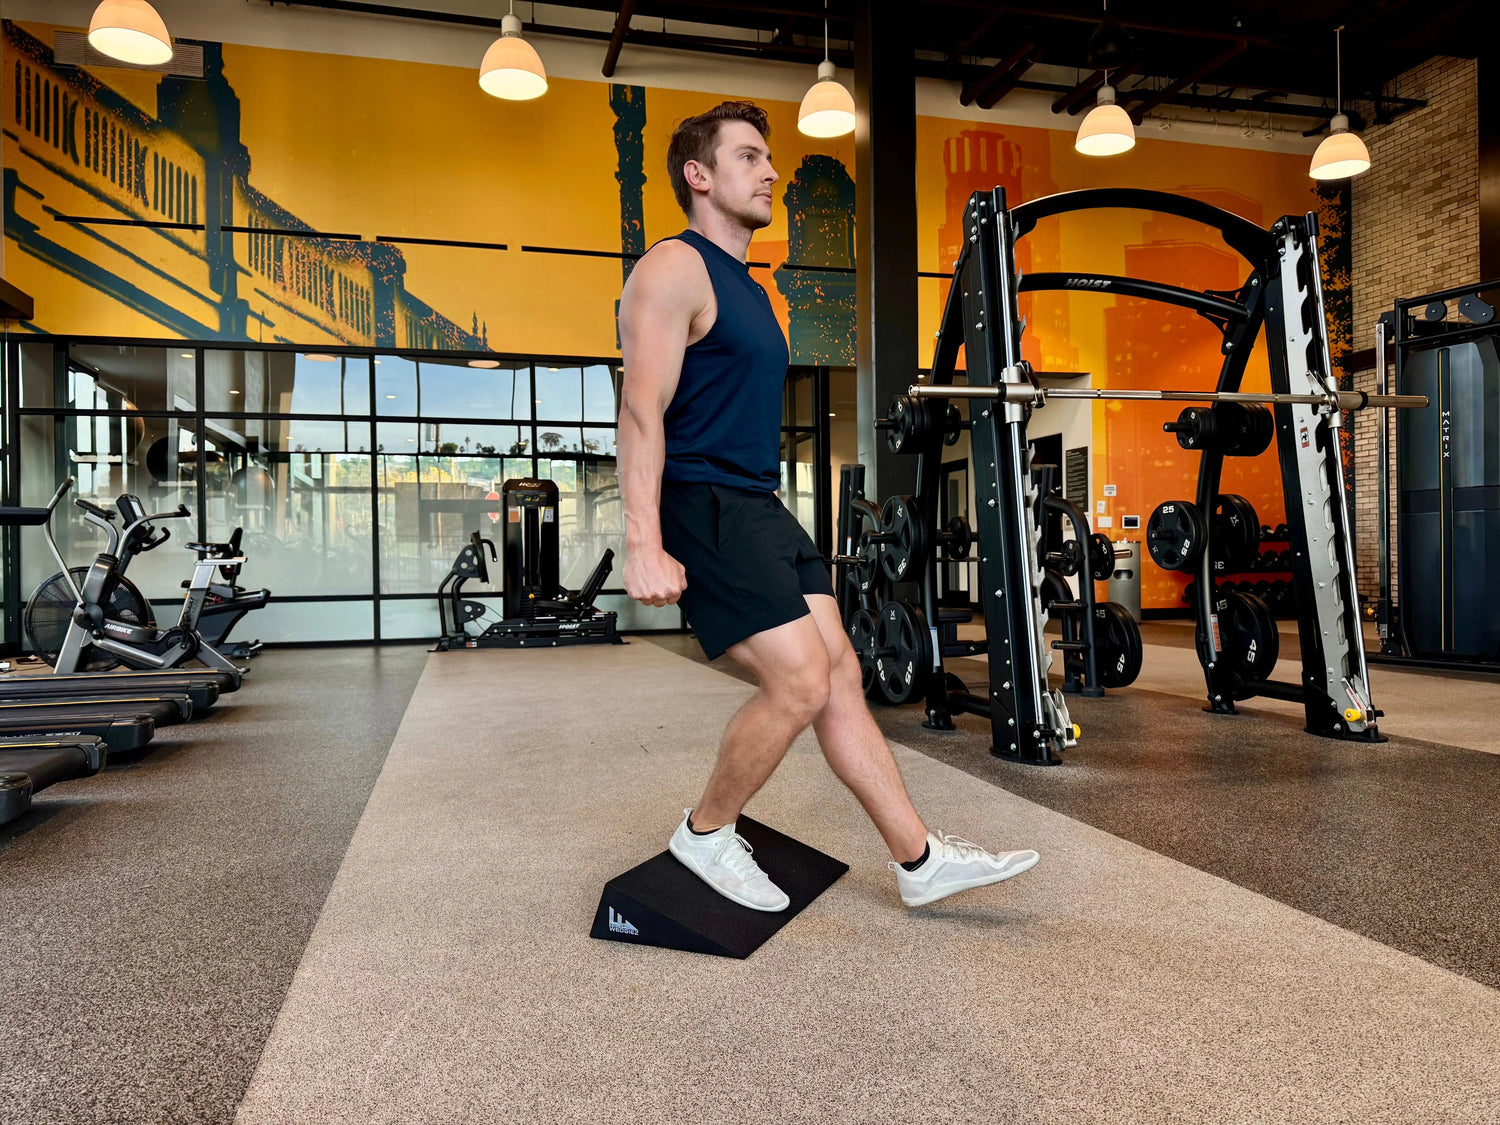
1. Step Downs
Teaches you how to balance and load one leg while increasing the range of motion.
How to perform: Elevate your heel with a wedgie to load the quadriceps more. Slowly lower one leg toward the ground by bending the standing leg. Keep your chest up and hips square. Lightly tap the heel, then return to standing.
Prescription: 3 sets of 6–8 reps per leg
2. Single-Leg Box Squats (Use SquatWedgiez)
Reduces ankle mobility demands while building quad strength and balance.
How to perform: Sit on a box or bench. Stand using only one leg, then control the descent back to the box. Use SquatWedgiez under the working foot to elevate the heel—this helps maintain a more upright torso and targets the quads more directly.
Prescription: 3 sets of 6 reps per leg
3. Lateral Step Downs
Improves single leg strength in the bottom of the movement where people struggle the most.
How to perform: Stand sideways on a low box. Lower one leg down laterally, keeping the working leg stable and the knee tracking over the second toe.
Prescription: 3 sets of 6–8 reps per leg
4. Assisted Single-Leg Squats (1-to-2 Method)
Bridges the gap between partial range and full pistols by focusing on the bottom half.
How to perform: Descend into a single-leg squat. At the bottom, allow the non-working foot to lightly touch the ground or assist slightly with the ascent. Gradually reduce assistance over time.
Prescription: 3 sets of 4–6 reps per leg
5. Alternating Pistol Squats (Advanced)
Builds strength, endurance, and control. Use assistance or elevation as needed.
How to perform: Perform alternating single-leg squats, switching legs each rep. Focus on control and form, not speed or depth initially.
Prescription: 3 sets of 3–4 reps per leg
Key Coaching Tips
-
Use heel elevation strategically. SquatWedgiez helps reduce forward torso lean and improves quad activation—especially for those with limited ankle mobility.
-
Control before depth. Only squat as low as you can maintain perfect form.
-
Film your reps. Video helps identify compensations and asymmetries that can be hard to feel.
-
Consistency is key. Train these progressions 2–3 times per week and be patient with your progress.
Conclusion: Start Where You Are, Build From There
The pistol squat is a long-term goal for many—but it’s achievable when broken down into manageable steps. Whether you’re working on ankle mobility, building up leg strength, or refining balance, each of the exercises above is designed to help you move better, feel stronger, and train pain-free.
And with SquatWedgiez, you’re not just making the movement more accessible—you’re reinforcing proper mechanics and accelerating progress where it matters most.
Are you ready to take the next step?
Pick your wedgie below to get started.
Leave a comment
This site is protected by hCaptcha and the hCaptcha Privacy Policy and Terms of Service apply.